
Voice over Internet Protocol (VoIP) phones have revolutionized business and home communications, offering cost-effective and flexible solutions. Whether you’re setting up a VoIP phone at home or for a business, this guide will walk you through the essential steps and requirements.
VoIP Setup Requirements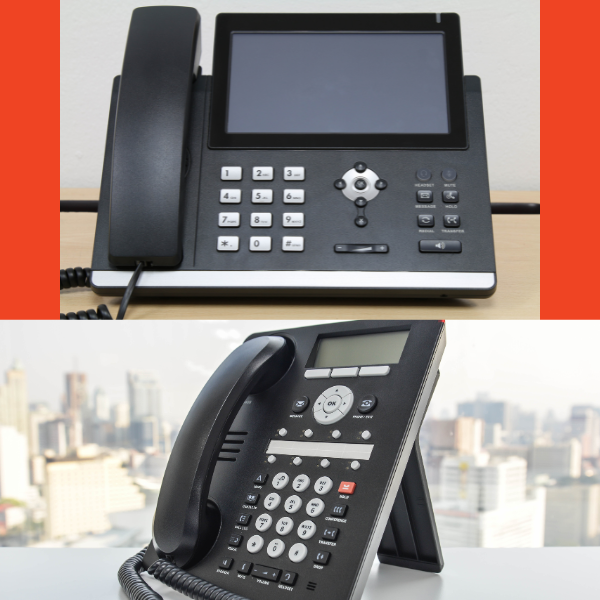
Before diving into the installation process, ensure you have the following:
- High-Speed Internet Connection: A stable broadband connection is crucial for clear voice quality.
- VoIP Service Provider: Choose a reliable VoIP provider like DIDforSale to get a VoIP number and access to SIP trunking services.
- VoIP Phone or Adapter: You can use a dedicated VoIP phone or an analog telephone adapter (ATA) to convert a traditional phone into a VoIP-compatible device.
- Router and Modem: A quality router ensures uninterrupted VoIP service.
- Power Source: Ensure your VoIP phone or ATA is plugged into a power outlet.
Steps to Set Up a VoIP Phone
1. Connect to the Internet
The first step is to connect your VoIP phone or ATA to your internet network:
- For VoIP Phones: Plug one end of an Ethernet cable into the phone’s LAN port and the other end into your router or modem.
- For ATA Setup: Connect your traditional phone to the ATA device using a phone cable, then plug the ATA into your router via an Ethernet cable.
2. Power On the VoIP Phone
Once connected, power on your VoIP phone by plugging it into a power outlet or using Power over Ethernet (PoE) if your phone supports it. The device will initialize and attempt to connect to your network.
3. Configure VoIP Phone Settings
Depending on your VoIP provider, you may need to enter specific settings to activate your phone:
- Locate the phone’s IP Address by navigating to the settings menu.
- Enter the IP address into a web browser to access the phone’s configuration page.
- Input the SIP Credentials provided by your VoIP provider, including username, password, and server details.
- Save the settings and reboot the phone to apply the changes.
4. Test Your VoIP Phone
Once configured, perform a test call to ensure proper functionality. Check for:
- Clear Audio Quality: If you experience choppy or delayed sound, consider upgrading your internet speed or adjusting Quality of Service (QoS) settings on your router.
- Dialing Capabilities: Ensure you can make and receive calls without issues.
5. Enhance Your VoIP Setup
For a more robust VoIP experience, consider these enhancements:
- Use a VoIP-Compatible Router: Some routers are optimized for VoIP traffic, reducing latency and call drops.
- Enable QoS Settings: Prioritize VoIP traffic to maintain call quality.
- Add Additional VoIP Features: Voicemail, call forwarding, and auto-attendants enhance usability for businesses.
How to Install VoIP Phones for Home Use
Setting up a VoIP phone at home follows the same steps but with a focus on convenience. Here’s what you need to do:
- Connect your VoIP phone or ATA to your home router.
- Enter the VoIP service credentials provided by your provider.
- Test the setup by making calls to check voice clarity and connection stability.
- Use mobile apps from your VoIP provider to extend your VoIP service to smartphones and tablets.
For more details on choosing the right VoIP plan, check out set up a VoIP phone page.
Conclusion
Setting up a VoIP phone is straightforward and offers significant cost savings and flexibility compared to traditional phone systems. By following these steps and ensuring the right equipment, you can enjoy seamless VoIP communication at home or in your business. Looking for the best VoIP solution? Contact DIDforSale today for high-quality, reliable VoIP services!